

Set up the destination
1
Log in to CSVbox
Log in to csvbox.io.
2
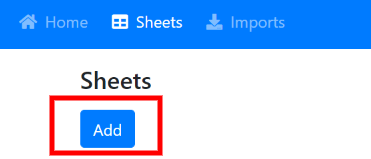
Add a sheet
3
Add columns
Add columns to the sheet as per your requirement.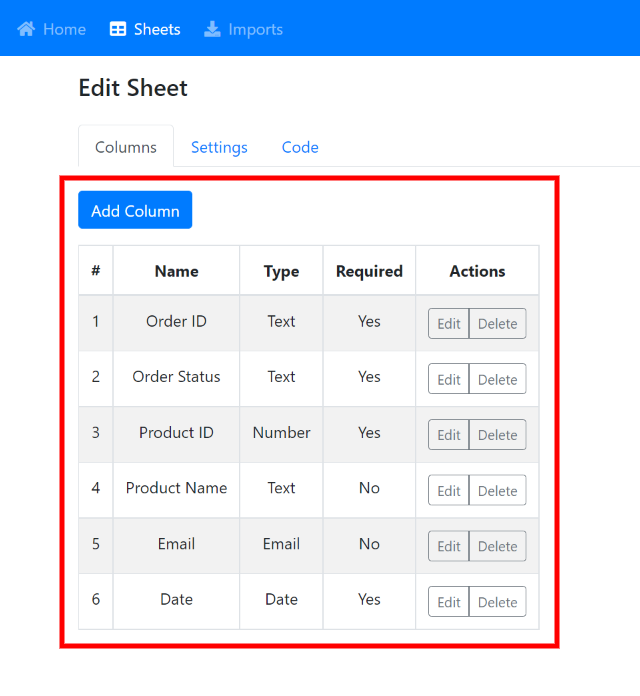
4
Select Webflow as the destination
Under the Destination section, for the Send Data To setting, select Webflow. Then click Connect Webflow.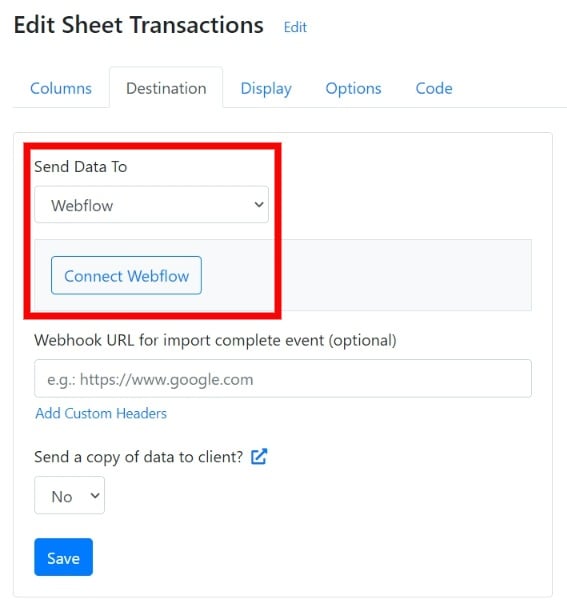
5
Authorize the application
You are redirected to the Webflow CSVbox Integration Authorization screen.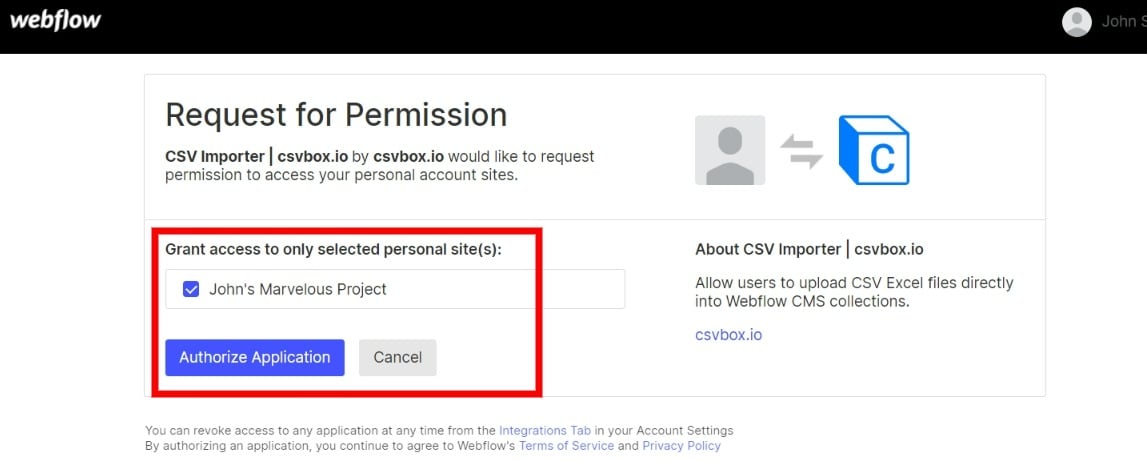
6
Pick the site and collection
Go back to your CSVbox sheet and pick the Webflow site and the collection from the list.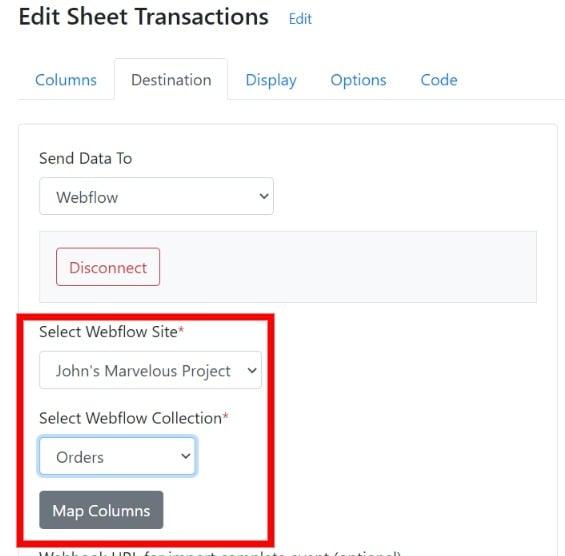
7
Map columns
Click Map Columns and map the sheet columns to the Webflow CMS collection fields.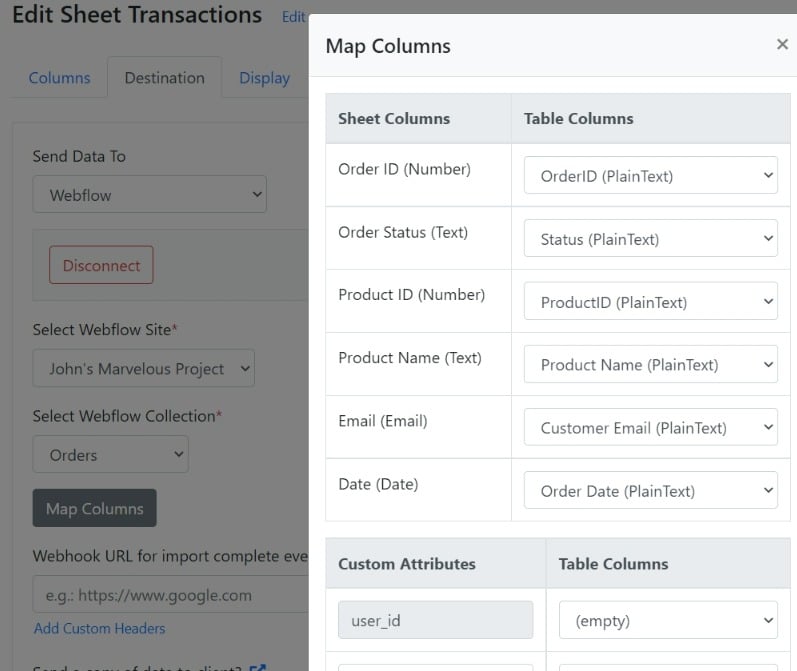
8
Save the sheet
Click Save.