

Set up the destination
1
Log in to CSVbox
Log in to csvbox.io.
2
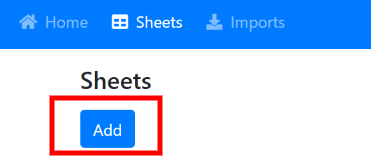
Add a sheet
3
Add columns
Add columns to the sheet as per your requirement.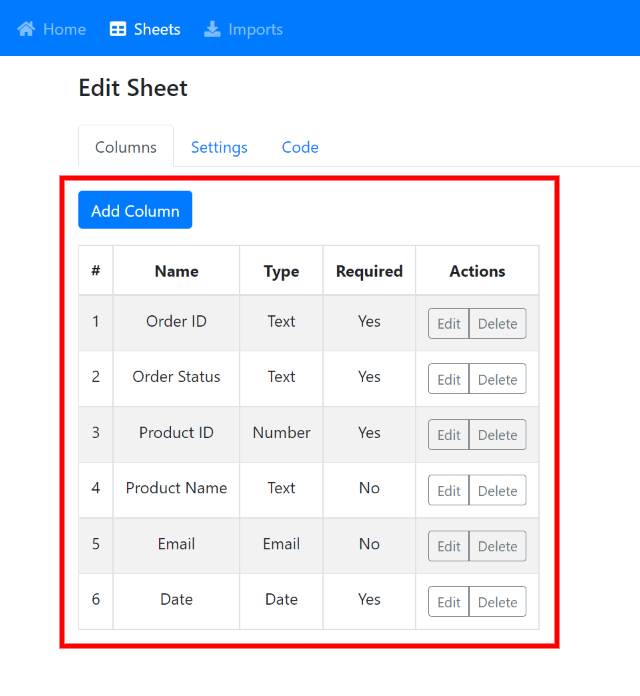
4
Select Zapier as the destination
Under the Settings section, for the Send Data To setting, select Zapier.
5
Connect a Zap
Click Connect Zap. This redirects you to Zapier.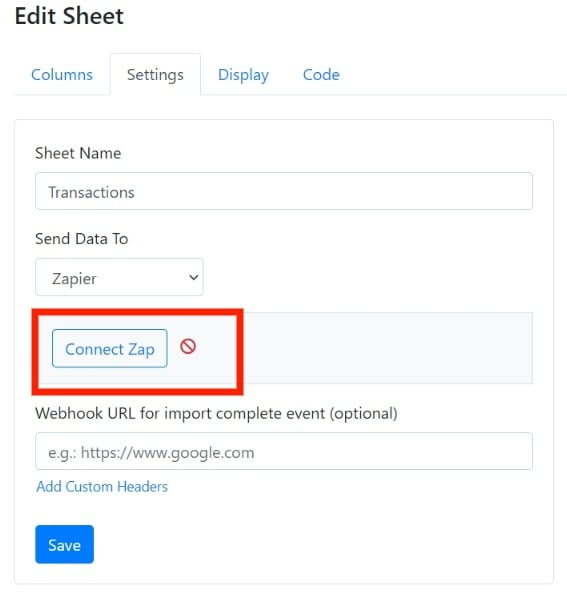
6
Create a new Zap
Log in to your Zapier account and create a new Zap.
7
Choose the CSVbox trigger
Select csvbox.io as the Trigger.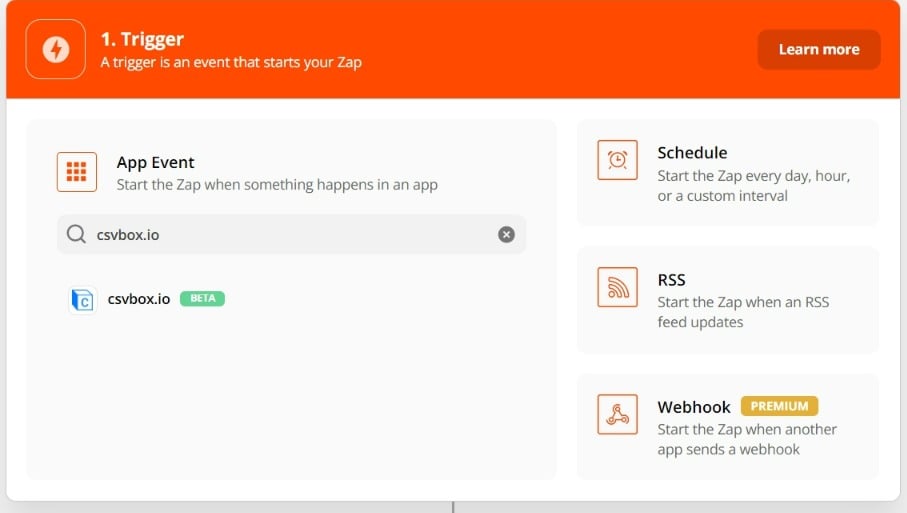
8
Connect your CSVbox account
Provide your API Key and API Secret Key. You can find these keys on the Accounts page of your CSVbox dashboard.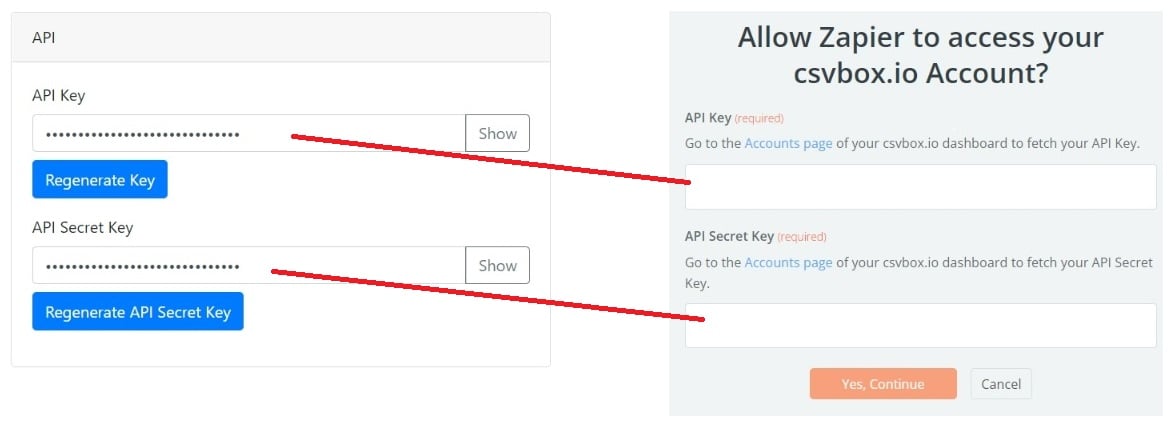
9
Select the sheet
Select the sheet (template) in the sheets dropdown of the Set up Trigger section. Data from this sheet is pushed to Zapier one row at a time.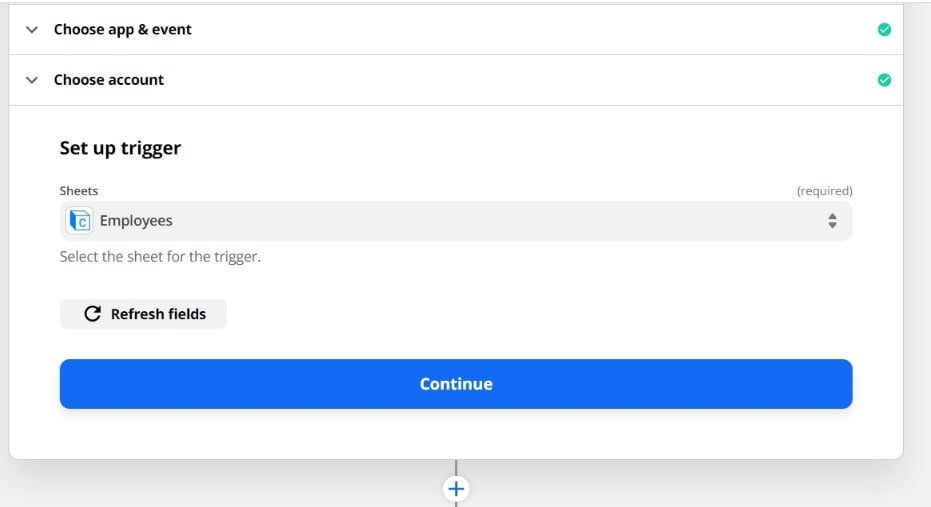
10
Test the trigger
Test the trigger and continue with setting up the Action of your Zap.