

These settings are also documented by the screen they belong to, under Sheet Settings: File Upload, Map Columns, Verify Data, Results, Display, and Security.
Data, privacy, and security
Server & data location
Choose the geographic location of the servers and database that hold your users’ data. Data residency is the geographical location where data is stored, and it usually matters for regulatory or policy reasons. The US is the default location; the other option is Europe (Germany). Data uploaded by your users then passes through servers, and is stored in a database, in the selected location only. Go to Edit Sheets → Options → Privacy & Security section and select the location from the dropdown.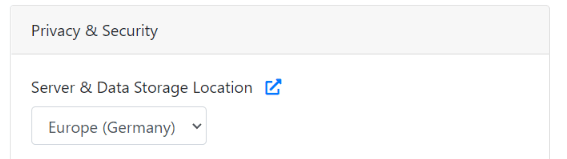
You can also choose not to store the data at all. See File delete policy.

File delete policy
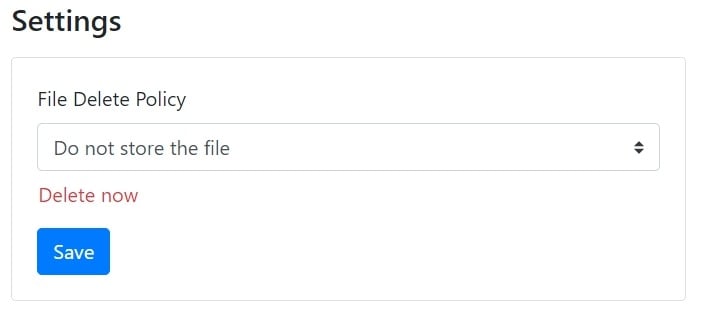
Decide whether CSVbox stores the files your users upload.- Do not store the file: User-uploaded data isn’t stored in the CSVbox datastore.
- Store data: Data is stored on CSVbox storage and auto-deleted after one month.
Domain authorization
Run the importer on approved domains only. Go to Edit Sheets → Options → Authorized Domains and add the domains or subdomains where the importer may be embedded.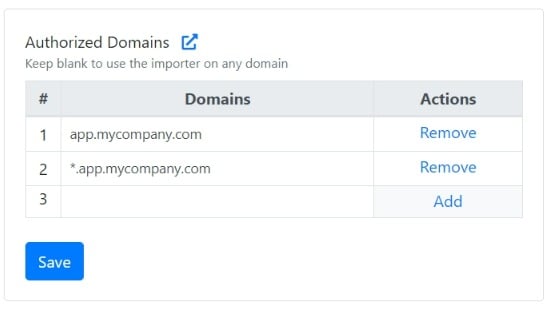
* wildcard prefix to include every subdomain:
If a domain fails validation, the user sees an Unauthorized domain error instead of the importer.
File upload
Show file upload box
Allow users to upload spreadsheet files, or only to copy-paste data. To accept copy-pasted data only, hide the File Upload Box: go to sheet settings → Display → File Upload and select No for the Show File Upload Box? option.Worksheet selection
Let users choose which worksheet to upload from an Excel file that has several. Go to sheet settings → Display → File Upload and select Yes for the Allow Worksheet Selection option. When this is set to No, the first worksheet is used.Import description
Let users name or describe the file they’re uploading. File names likecontacts.csv or Import 123.xlsx lack context. Descriptions such as “Texas Customers” or “Parts from 2022 Catalog” make each import easier to identify. When enabled, a description box appears after the user selects the file.
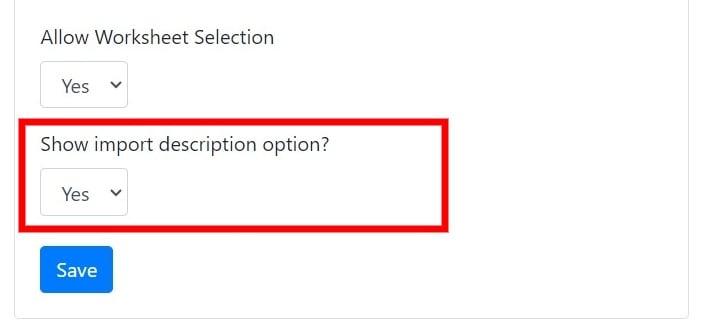
Go to Sheet Settings → Display tab → File Upload page → Show import description option and select Yes.
import_description property:
- API/Webhook
- Zapier
- Data at Client
- Import Complete Webhook
This feature is off by default. A description must be 3 to 100 characters long.
Formatting in Excel files
Control how dates, times, and numbers in Excel files are read. Unlike CSV files, Excel files keep formatting, formulas, and cell types. The way Excel stores dates, times, and numbers internally can therefore lead to unexpected values during import. CSVbox lets you choose how each of these is interpreted.To handle dates and numbers written in different regional styles in an uploaded file (for example, a day-first
04/05/2024 or a European 1.234,56), see Smart Date and Number Formats.- Dates
- Times
- Numbers
Excel stores dates in one of two ways:
- As formatted text: e.g.,
"03/04/2024" - As numeric serial values: e.g.,
45025, the number of days since January 1, 1900.
"03/04/2024" might be March 4 in the U.S. (MM/DD/YYYY) or April 3 in Europe (DD/MM/YYYY). If Excel stores the date as a number (45025) and the format is misread, the result can be completely off.Date handling options- Default: Uses Excel’s built-in logic to interpret the cell as a date. Best for files with consistent formatting and locale.
- MM/DD/YYYY: Forces the Month-Day-Year format. Example:
"03/04/2024"→ March 4, 2024 - DD/MM/YYYY: Forces the Day-Month-Year format. Example:
"03/04/2024"→ April 3, 2024 - Custom: Define a format like
YYYY-MM-DD,DD-MMM-YYYY, or any other pattern that matches how your file stores dates. Example:"12-Mar-2024"→ use custom formatDD-MMM-YYYY
Configure date formatting
1
Open the File Upload tab
Go to Sheet Settings → Import Steps → File Upload tab in your CSVbox dashboard.
2
Choose a date format
In the Formatting in Excel section, choose your preferred option for Date Format.
3
Save the configuration
Save the configuration.
Configure number formatting
1
Edit a Number column
Go to Sheet Settings → Columns and click Edit on a column with type Number.
2
Select a Values for Excel setting
Locate the Values for Excel option and select your preferred interpretation.
3
Save the configuration
Save the configuration.
Column mapping
Mapping choice
Let users map file columns to template fields, or template fields to file columns. By default, on the column mapping screen, Template Fields are fixed on the left and Uploaded File Columns appear on the right in a dropdown, so users map each file column to a template field. The Mapping Choice option reverses this direction. Selecting Template Fields as the Mapping Choice flips the layout: File Columns are fixed on the left, and Template Fields appear in the dropdown on the right. This suits different file structures and user preferences.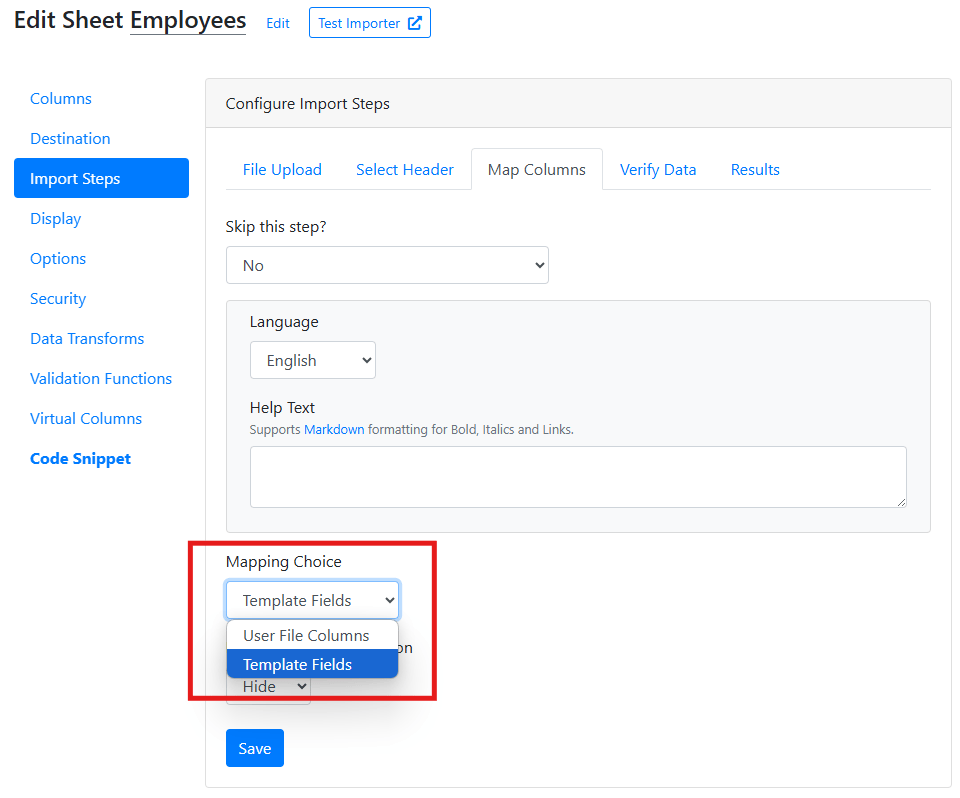
Zero template columns
Accept file submissions without any predefined template columns. By default, CSVbox requires at least one template column for mapping. Setting Allow Zero Template Columns to Yes lets users submit files without any predefined template columns. Combine it with Unmapped Columns so users can upload files with any set of columns.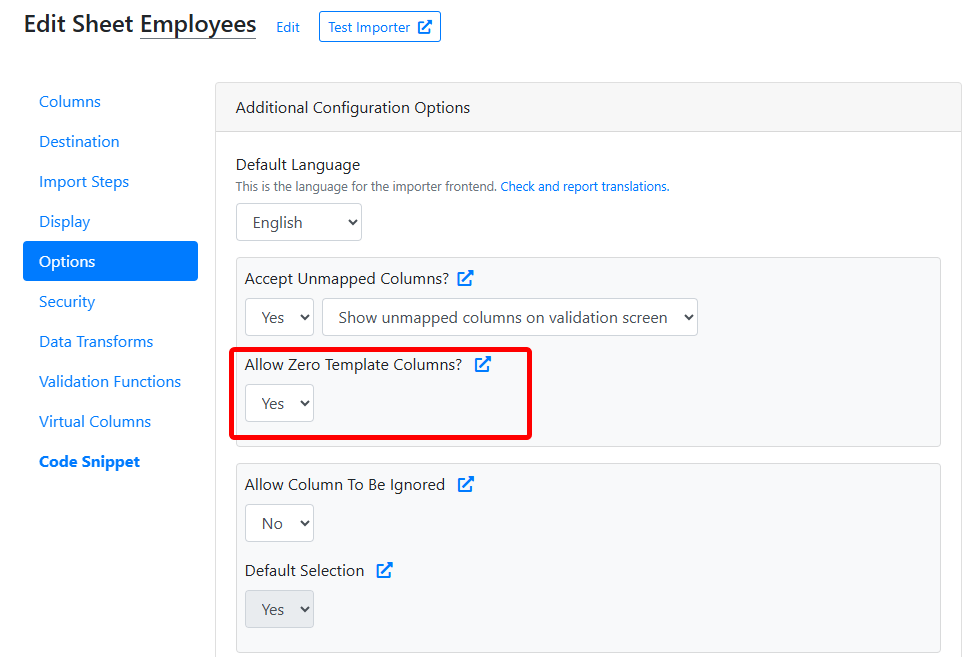
For this feature to work effectively, set Allow Unmapped Columns to Yes along with the Show Unmapped Columns on Validation Screen selection. This lets users review and verify file columns before submission.
Verify Data screen
Export button
Let users export their data, with errors highlighted, to Excel. Enable or disable the Export button on the Verify Data screen. The exported Excel file keeps the error highlighting and error messages, so users can fix the errors in Excel and quickly re-upload the file to CSVbox.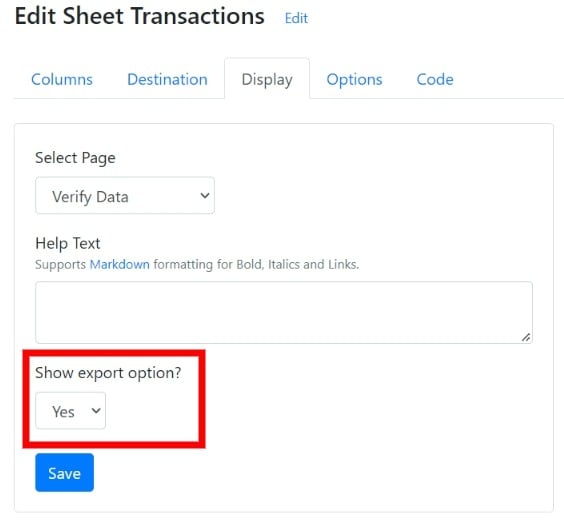
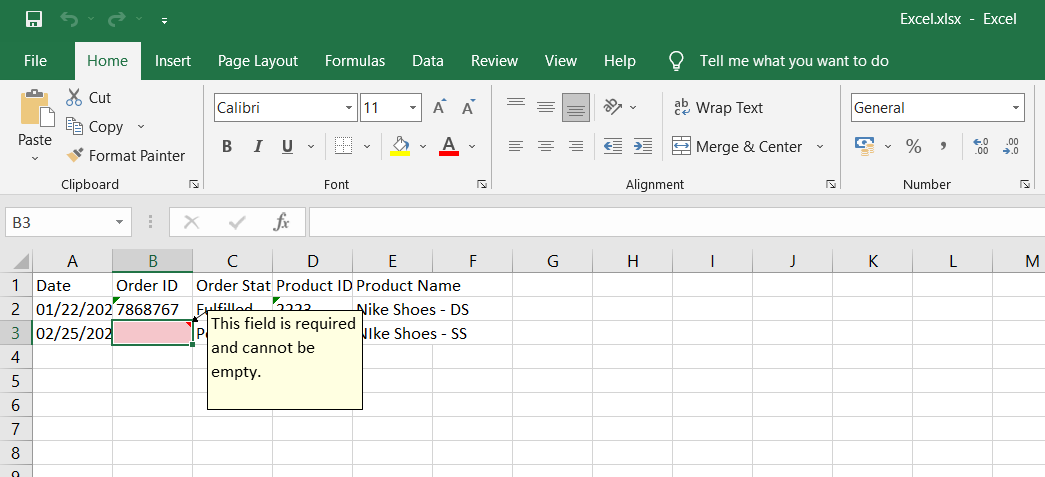
An exported file with error highlighting
Import completion
Show error text
Show import failure messages to your users. When enabled, users can click the See Errors button on the import complete screen to see why the import failed.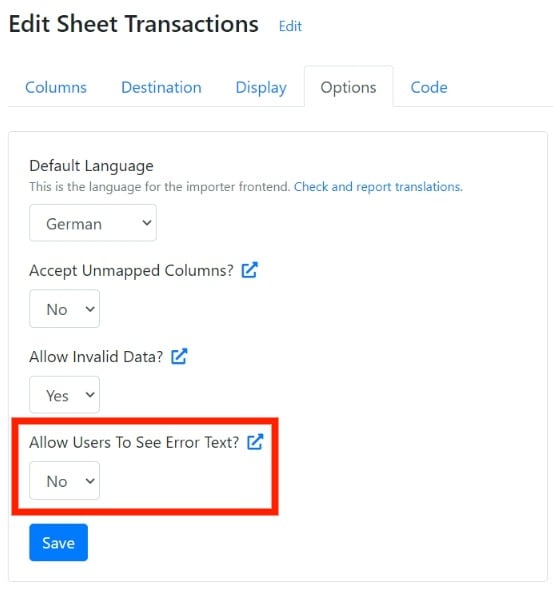
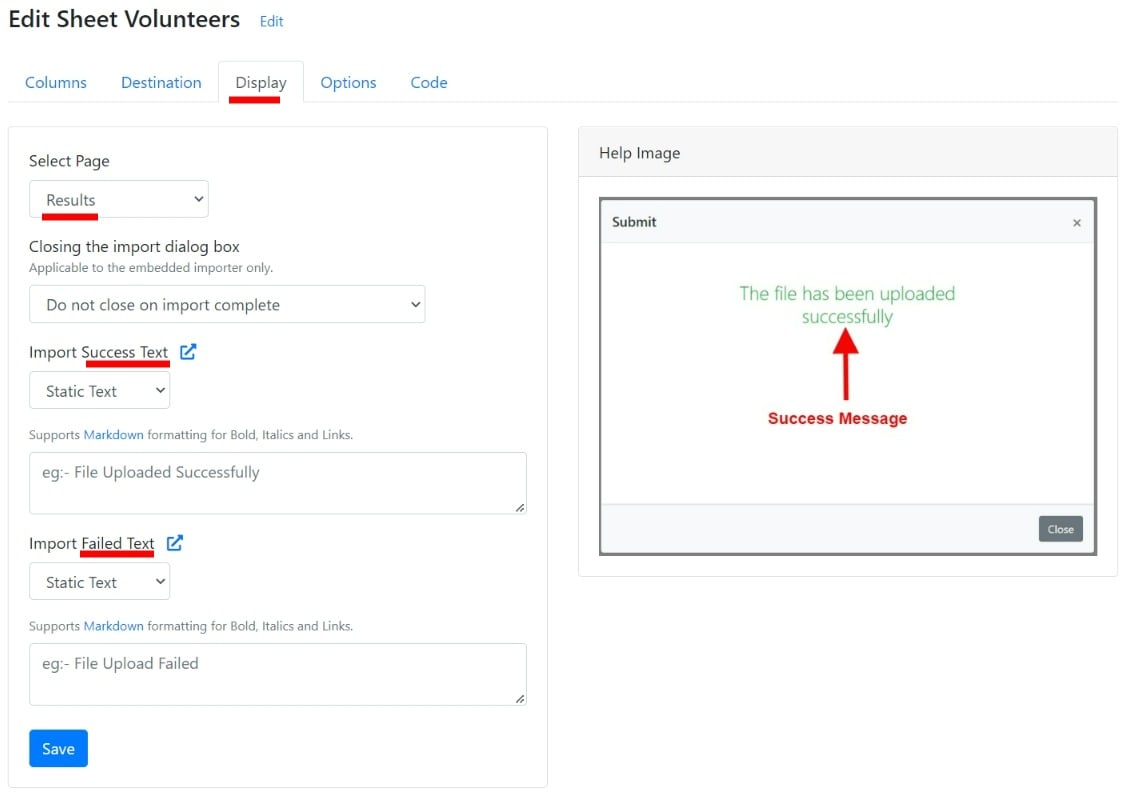
Import complete messages
Show your own success or failure message when an import finishes. The message can be:- Static: Any fixed text.
- Dynamic: Fetched in real time from an API you provide. The importer appends metadata (
import_id,sheet_id) to the API URL as query parameters, so you can return a message that fits the import.
Resubmit button
Push the same file again with one click. Show or hide the Resubmit button on the Import Success screen. It starts a new import that pushes the same file with the same import configuration, so you don’t have to upload the file, match columns, and confirm the data again. This is useful during testing and debugging.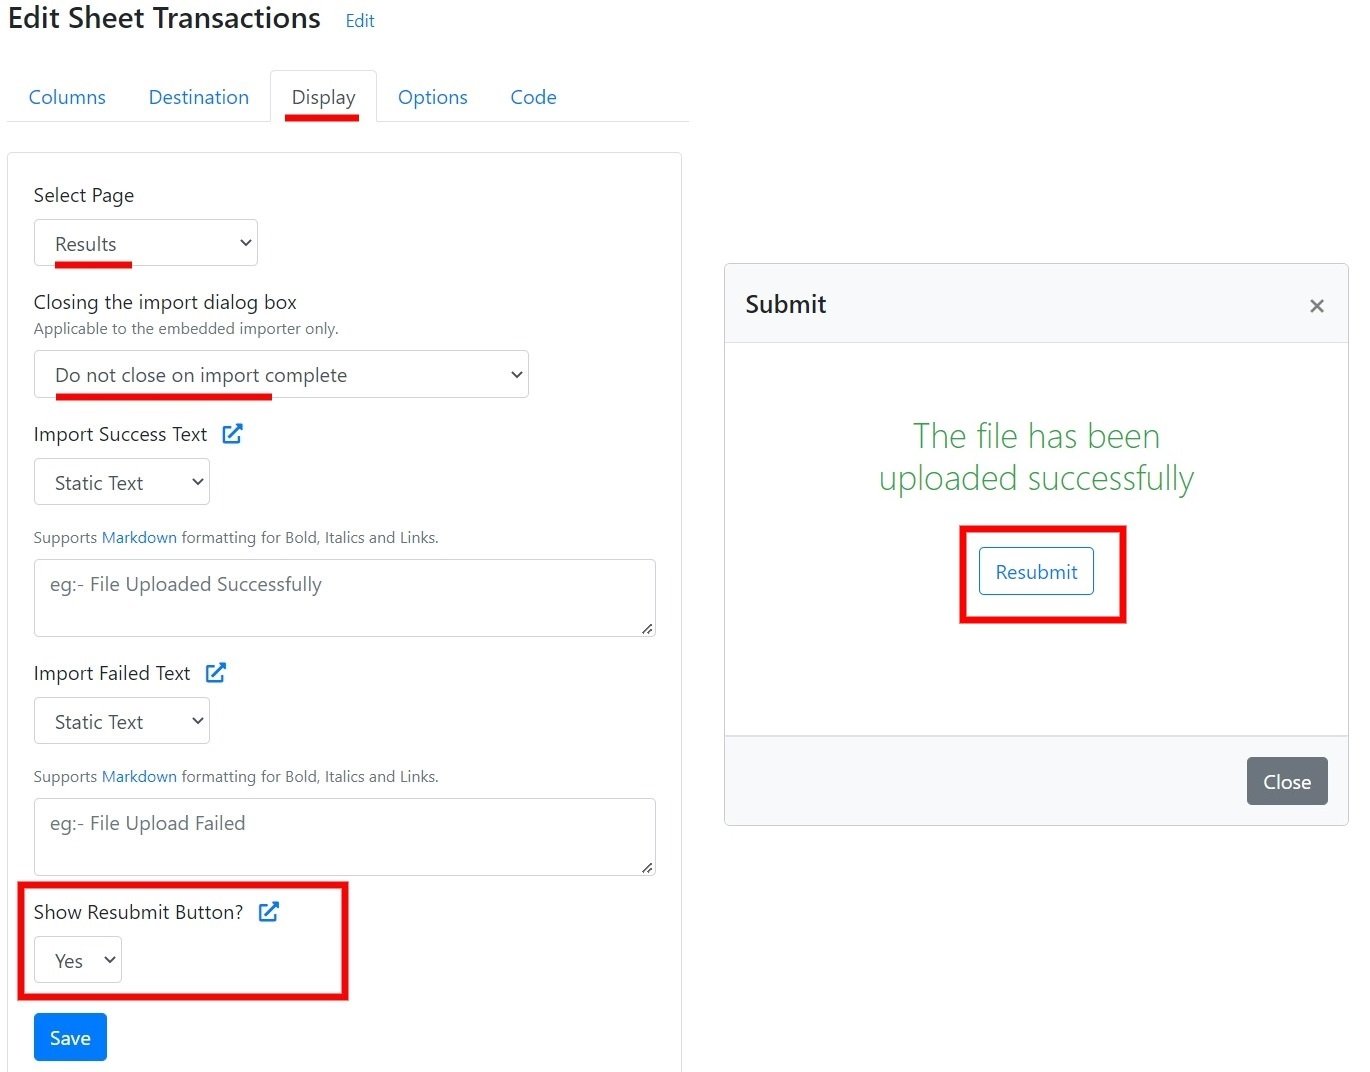
Custom redirect URL
Send users to a page of your choice after a successful import. Specify the URL to redirect users to when an import completes successfully.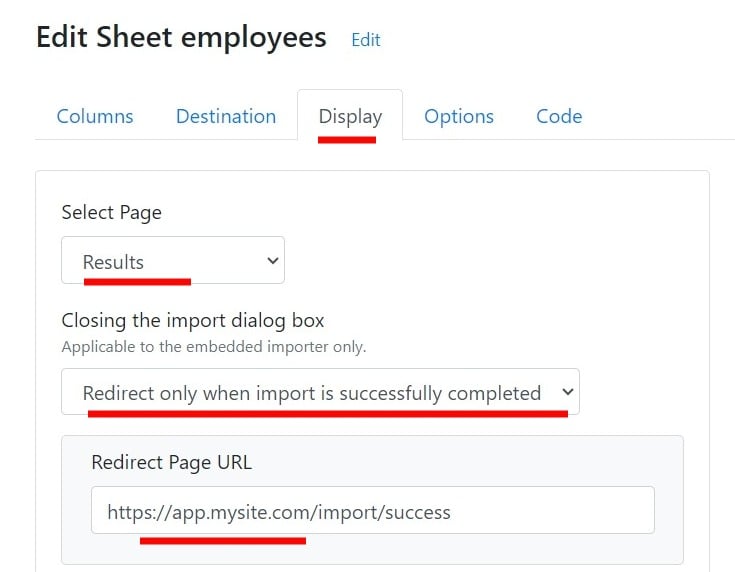
Importer window
Importer dialog size
Choose the size of the import dialog on large screens: Medium or Large. Pick the one that suits your import data structure (number of columns). Go to sheet settings → Display → Importer Dialog Size.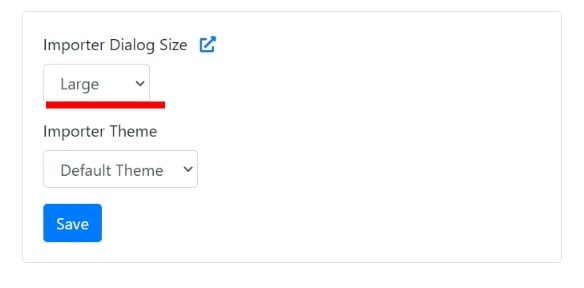
The dialog size applies to large (desktop) screens only. On smaller screens, the dialog always fills the entire screen.
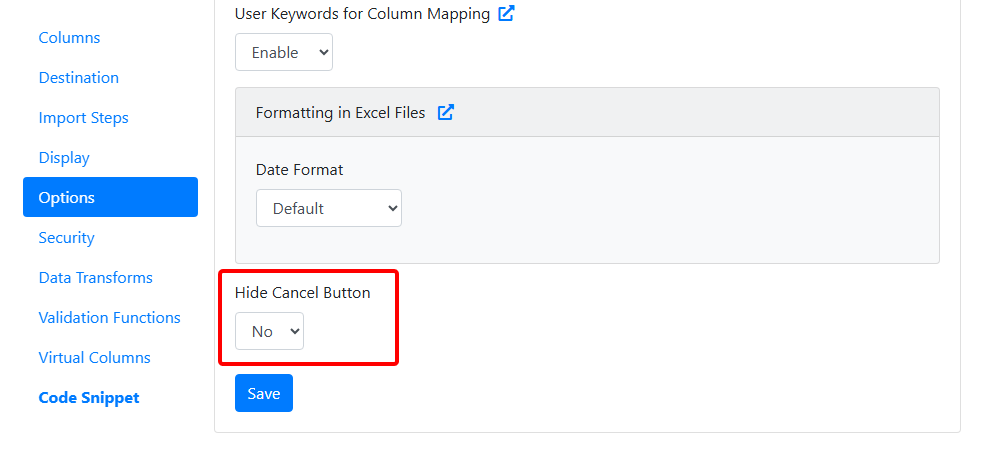
Hide cancel button
Hide the Cancel button at the bottom-right corner of the importer. The X (close) button at the top-right corner stays. Hiding Cancel helps prevent users from abandoning the import by accident and keeps them focused on the Submit button, which suits workflows where you want to guide users toward submission. Default:No
Sheet transfer
Sheet import & export
Export a sheet from one CSVbox account and import it into another, or duplicate it within the same account, in a few clicks. Use it to:- Move sheets between staging and production accounts
- Share templates across teams
- Back up sheet configurations
- Reuse validated sheet structures
Export a sheet
1
Open your sheets
Go to Sheets in your dashboard and locate the sheet you want to export.
2
Click Export
Click the Export button in the Actions column. A dialog opens showing:
- Sheet License Key
- Export Key
- Options to Copy, Show, or Regenerate the export key.
3
Copy both keys
Copy both the Sheet License Key and the Export Key.
Import a sheet
1
Log in to the target account
Log in to the account where you want to import the sheet.
2
Choose Import Sheet
Click Add Sheet, then select Import Sheet.
3
Paste the keys
Paste the Sheet License Key and the Export Key.
4
Click Import
Click Import. The entire sheet, including columns, validations, configuration, and settings, is copied into the new account.
The imported sheet gets a new License Key. The original sheet, and its existing imports and data, are not affected.